Before jumping into any patio installation project, planning is the most crucial step. Whether you’re dreaming of a cozy retreat or an outdoor entertainment zone, success begins with outlining your space, budget, and goals. Consider how you’ll use the area—do you want a dining space, fire pit lounge, or a multi-functional setup? Measure your yard, evaluate sun exposure, and identify potential drainage issues. Your patio installation should enhance both your lifestyle and the layout of your home, so a thoughtful design is essential from the start.
Choosing the Right Materials for Your Patio Installation
Material selection significantly influences the appearance, texture, and durability of your patio. From natural stone and concrete pavers to stamped concrete and brick, each option has unique benefits. Flagstone offers organic beauty but may require a higher budget. Concrete pavers are versatile, easy to repair, and come in a wide range of finishes. Brick delivers timeless charm and durability. Every patio installation should factor in not only aesthetic preference but also climate conditions, maintenance needs, and how the material feels underfoot. The right surface transforms your vision into a long-lasting reality.
Budgeting Realistically for Your Patio Installation
Cost is often the biggest surprise in outdoor renovation projects, but a well-planned patio installation doesn’t have to break the bank. Set a clear budget early and prioritize where to allocate your spending. Labor, materials, site prep, and any add-ons—such as lighting, seating walls, or outdoor kitchens—should all be considered. It’s also wise to include a contingency fund for unexpected issues, such as poor soil or drainage corrections. A successful patio installation strikes a balance between dream features and practical financial planning, enabling you to create a beautiful space without regret.
Site Preparation Essentials in a Patio Installation
Clear the Area Completely
Before any materials are placed, the first step in patio installation is to clear the designated area of grass, plants, debris, and old structures. This step ensures a clean slate and makes it easier to visualize and measure the layout accurately.
Grade the Surface for Stability
Grading involves shaping the ground to create a level surface and directing water away from your foundation. Proper grading during patio installation helps prevent future issues, such as erosion, uneven settling, and drainage problems.
Compact the Base for Long-Term Support
A compacted gravel base provides the structural backbone of any durable patio. This layer enhances weight distribution and prevents shifting, which is particularly important in areas with fluctuating weather conditions or high foot traffic.
Add a Sand Layer for Precision
On top of the gravel base, installers typically spread a fine sand layer. This helps achieve an even finish and allows for minor height adjustments during material placement. It also supports interlocking pavers or tiles more evenly.
Prevent Costly Problems Later
Investing time and care into site preparation during your patio installation eliminates future headaches. A well-prepped site ensures the surface stays level, drains efficiently, and maintains its appearance for years.
Navigating Local Codes and Permits During Patio Installation
Before digging begins, it’s important to research local zoning laws and building codes. Some municipalities require permits for patio installation—especially if you’re adding features like retaining walls, gas lines, or permanent lighting. Failing to follow code can lead to fines or forced removal of the structure. It’s also wise to call 811 or your local utility marking service to locate any underground cables or pipes. Staying compliant with regulations ensures your patio installation stays on track and provides you with peace of mind.
Patio Installation and the Role of Drainage Planning
Water management is often overlooked in patio installation, but it’s critical to long-term success. Without proper drainage, rainwater can pool on your patio, seep into your foundation, or erode landscaping. Solutions like French drains, sloped surfaces, or permeable pavers can help redirect runoff efficiently. A professional patio installation will account for slope percentage and water flow direction, preventing headaches later. Good drainage keeps your patio dry, safe, and structurally sound no matter the weather.
Enhancing Outdoor Living Through Patio Installation
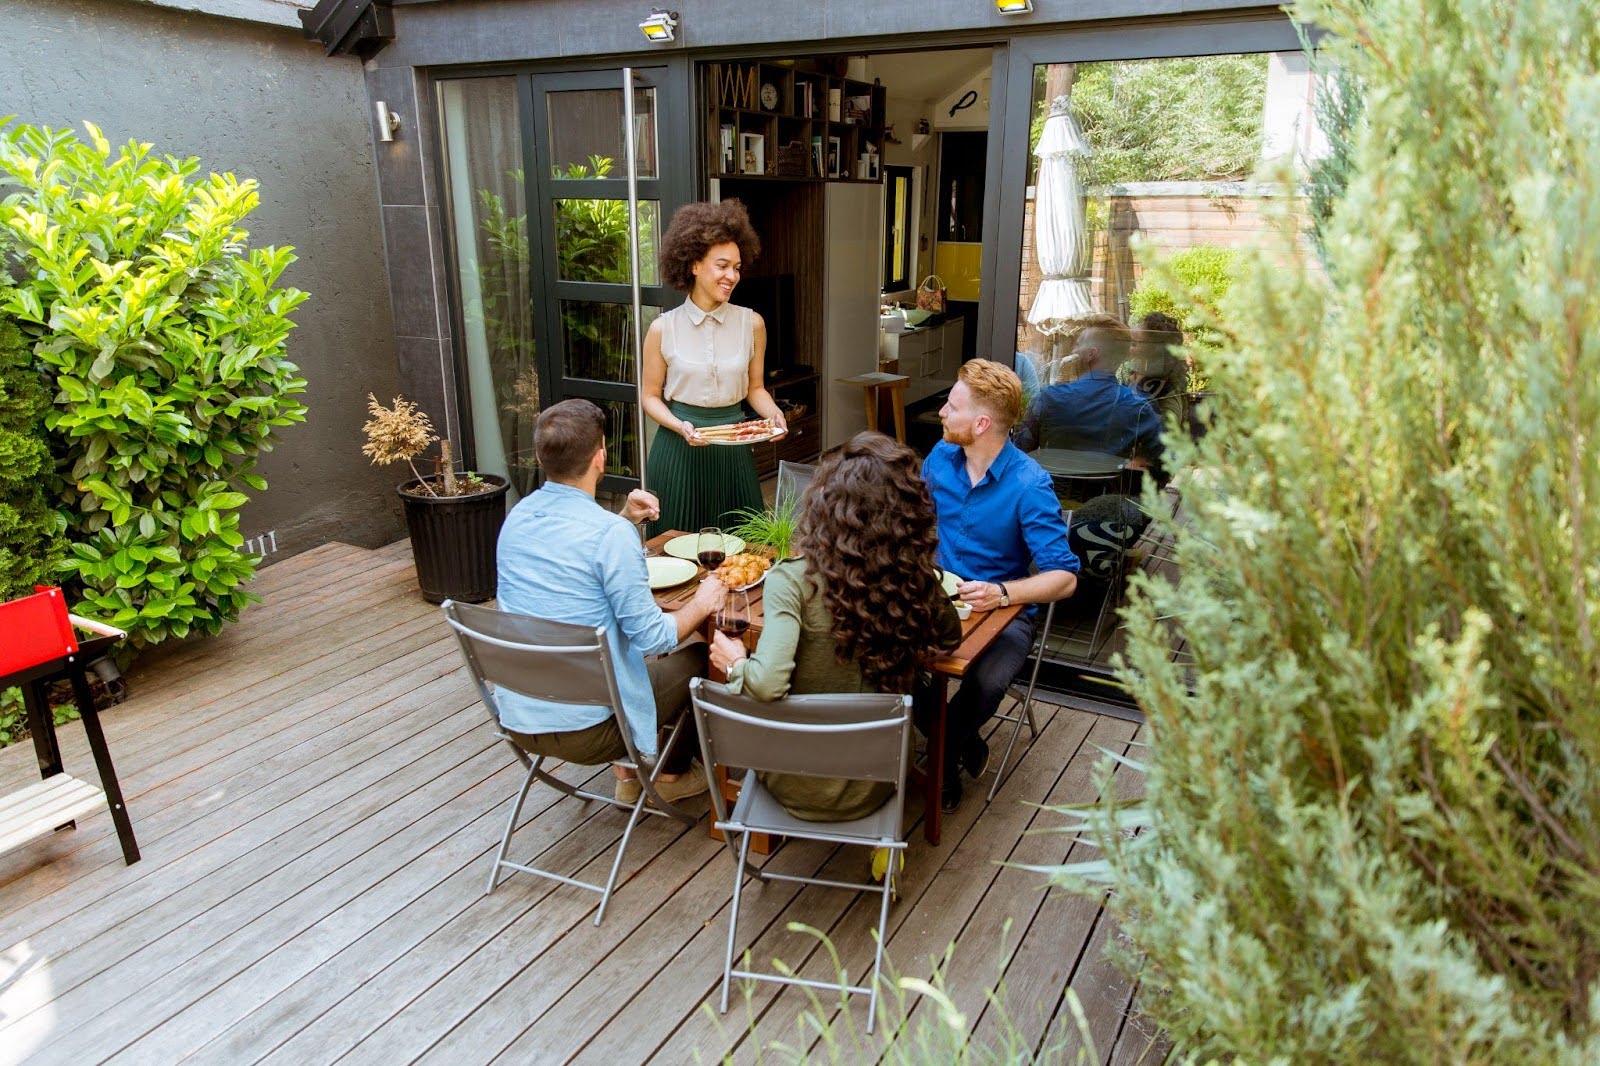
A well-designed patio extends your usable living space, creating a seamless transition from indoors to outdoors. By tailoring your patio installation to your lifestyle—whether that’s entertaining guests, spending quiet evenings outside, or gardening in nearby beds—you create a functional area that serves real purpose. Think of the patio as an open-air room with specific zones for dining, lounging, or cooking. With the right layout, furniture, and amenities, patio installation can add livable square footage without major home renovations.
Incorporating Lighting Into Your Patio Installation
Lighting design is a game-changer for patios, extending their use well past sunset. Whether it’s overhead string lights, path lighting, or integrated LED accents, illuminating your outdoor space adds safety and ambiance. When planning your patio installation, don’t leave lighting as an afterthought. It’s easier and more cost-effective to incorporate electrical lines during the initial construction phase. Lighting can highlight textures, define zones, and set the mood—all crucial for creating an inviting and functional outdoor retreat.
Choosing Furniture That Complements Your Patio Installation
Once the surface is down and the structure complete, selecting the right furniture brings the space to life. Consider materials that hold up to the elements—powder-coated metal, all-weather wicker, and teak are popular choices. Comfort matters too, so look for weather-resistant cushions or modular pieces that allow for flexibility. Your patio installation should match the scale of your furniture layout—don’t overcrowd or underutilize the space. When furniture and patio design are in sync, the result feels intentional and elevated.
Landscaping That Completes Your Patio Installation
Softscape elements, such as shrubs, flower beds, or potted plants, add visual warmth and softness to the hardscape of a patio. Well-integrated landscaping frames the space, adds privacy, and enhances the connection between your patio and the rest of the yard, creating a seamless and inviting outdoor area. Patio installation doesn’t end when the pavers are placed—it extends to how the area is visually integrated into your landscape. Whether you choose low-maintenance plants or a carefully curated garden bed, landscaping complements the project beautifully.
Seasonal Considerations That Affect Patio Installation Timing
Spring and Early Summer See High Demand
Patio installation projects ramp up in spring and early summer, which are peak times for outdoor work. While the weather is ideal, contractor availability can be limited.
Fall Offers More Flexibility
Choosing fall for your patio installation may provide better scheduling options and cooler temperatures. This season is often less hectic for contractors and crews.
Winter Brings Construction Challenges
Installing right before or during winter can pose risks, especially with curing times for concrete or sealants. Cold weather may delay project completion or affect results.
Material Availability Varies by Season
Some materials may be harder to source during peak months or holiday seasons. Planning ahead ensures that your preferred pavers, stone, or concrete are ready on time.
Strategic Planning Avoids Delays
Aligning your patio installation with both the climate and contractor schedules increases efficiency. Smart timing can save you stress and help avoid costly setbacks.
Maintenance Tips After Patio Installation Is Complete
Once your patio installation is finished, routine maintenance will protect your investment. Keep debris and organic matter off the surface to prevent staining or moss buildup. Depending on the material used, sealing may be necessary every few years to maintain durability and color. Periodically inspect for uneven settling or shifting pavers, especially after heavy rain or freezing temperatures. Simple upkeep ensures your patio continues looking great and functioning well long after installation day.
Common Mistakes to Avoid in a Patio Installation Project
Even the most beautiful patio can underperform if a few basic rules are overlooked. One common mistake is underestimating size—many homeowners build too small, only to wish they had added more space. Another issue is improper grading or drainage, which can cause puddles and instability. Skipping professional consultation or cutting corners on materials also leads to long-term regrets. A smooth patio installation starts with detailed planning and ends with quality execution at every step.

What to Keep in Mind for Your Patio Installation Success
A patio installation offers one of the most transformative ways to enhance your home’s exterior. With the right vision, materials, and professional guidance, it becomes a space for connection, relaxation, and daily enjoyment. Focus on the details that matter most to you—whether that’s lighting, layout, or landscaping—and prioritize functionality alongside style. With careful planning and smart execution, your patio installation will serve as a cherished extension of your home for years to come.
To learn more about everything you need to know before starting a patio installation, visit our KB Builders blog.